
Introduction
Ever wondered how you are most likely engaged through notifications sent by your browser daily, checking out new exciting offers and essential mails, etc., by the click of your mouse button, which redirects it to your desired platform? This is all possible through the advent of events/notifications sent through your browser.
As the name suggests, web push notifications are alert messages sent to users after they visit any particular website with the feature of push notifications. When they open their web browser, these messages are displayed on a visitor’s desktop, tablet, or mobile device. Web push notifications work in the background, which is possible with service workers’ help, which runs on a different thread and not on the main thread as your DOM.
Websites use web push to connect with users after leaving their website to drive greater engagement and conversions and improve the digital user experience. Compared to more traditional communication channels such as email, web push is more accessible for visitors to enable and much harder for them to overlook.
How to use Amazon Pinpoint for Web Push Notifications?
Amazon Pinpoint is a flexible and scalable outbound and inbound marketing communications service. You can connect with customers via email, SMS, Push, voice, or in-app messaging.
To learn more about Pinpoint and how it works, you can visit the following documentation link https://docs.aws.amazon.com/pinpoint/latest/userguide/welcome.html
Many services offered by Amazon help developers handle requests faster and execute them on the UI level. One of those services is Amplify, which helps developers to deliver the most interactive user experience by allowing them to integrate other Amazon services such as Cognito for authentication, API Gateway for making requests, integration with RDS and DynamoDB for database, S3 for storage, Lambda for running your code, Cloudfront for hosting, Amazon Pinpoint for notifications to be sent by your application and other custom integrations.
Creating Firebase Project
Databases store a massive amount of data through which various applications can perform other functions; relational databases use tables to store data incorporating relations or methodologies in between.
Amazon RDS facilitates the deployment and maintenance of relational databases in the cloud.
Amazon RDS makes it easy to use replication to enhance availability and reliability for production workloads. Using the Multi-AZ deployment option, you can run mission-critical workloads with high availability and built-in automated failover from your primary database to a synchronously replicated secondary database.
Using Read Replicas, you can scale out beyond a single database deployment capacity for read-heavy database workloads.
Creating Firebase Project
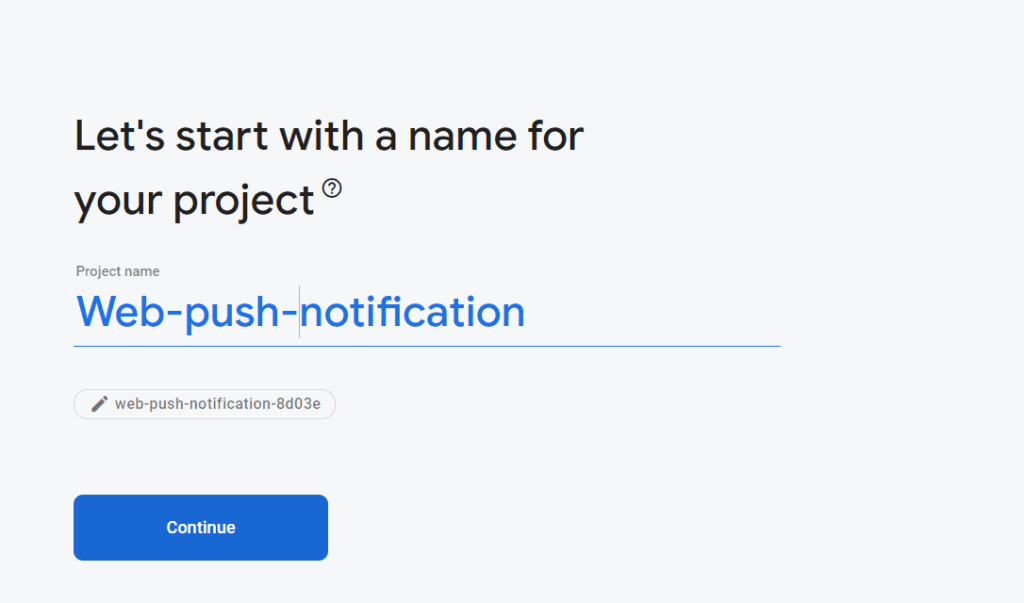
- Open your Firebase console and click on add project. Provide a project name( turn on google analytics if you want, but as this demo project, we have turned it off) and click Create a project.
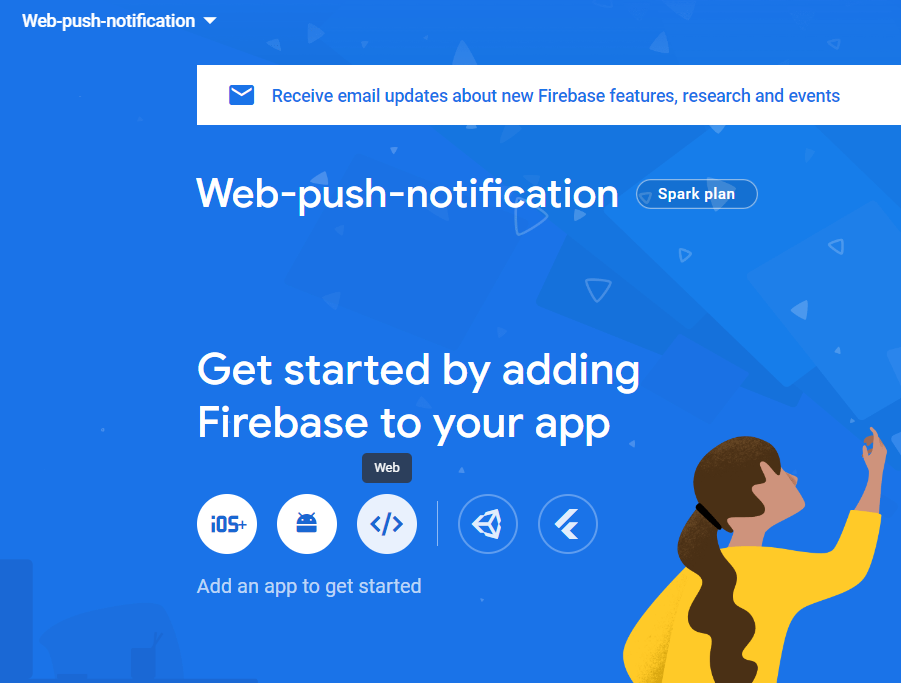
2. Now click on the web app on your project dashboard, provide the web app name, and click on the register app.
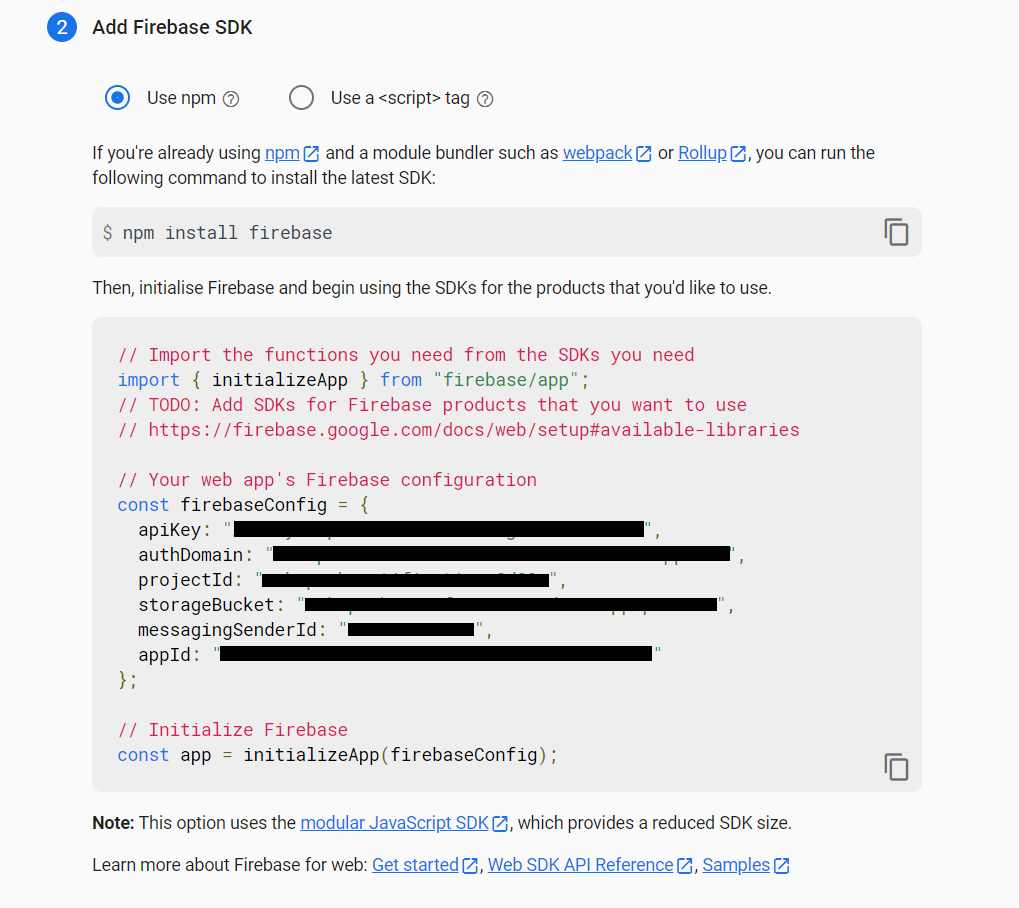
3. After this, you will see the configuration to connect your Firebase app with your web app. Copy this configuration, save it for future reference, and click continue to console.
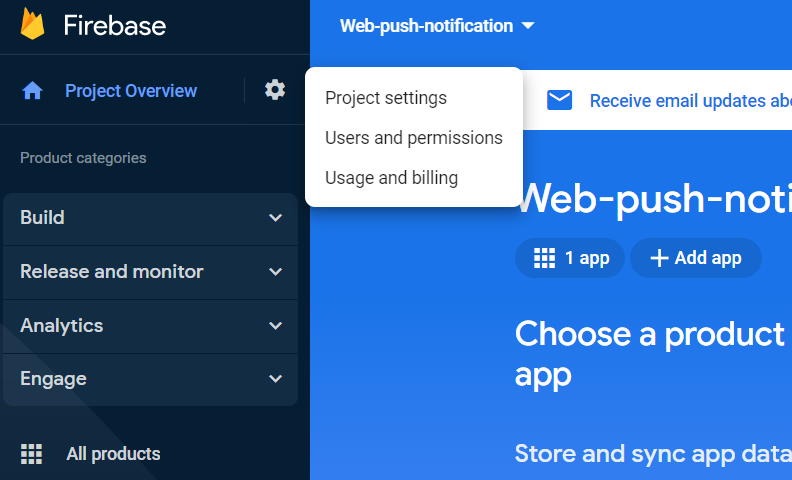
4. Now click on project settings from the left side settings options.
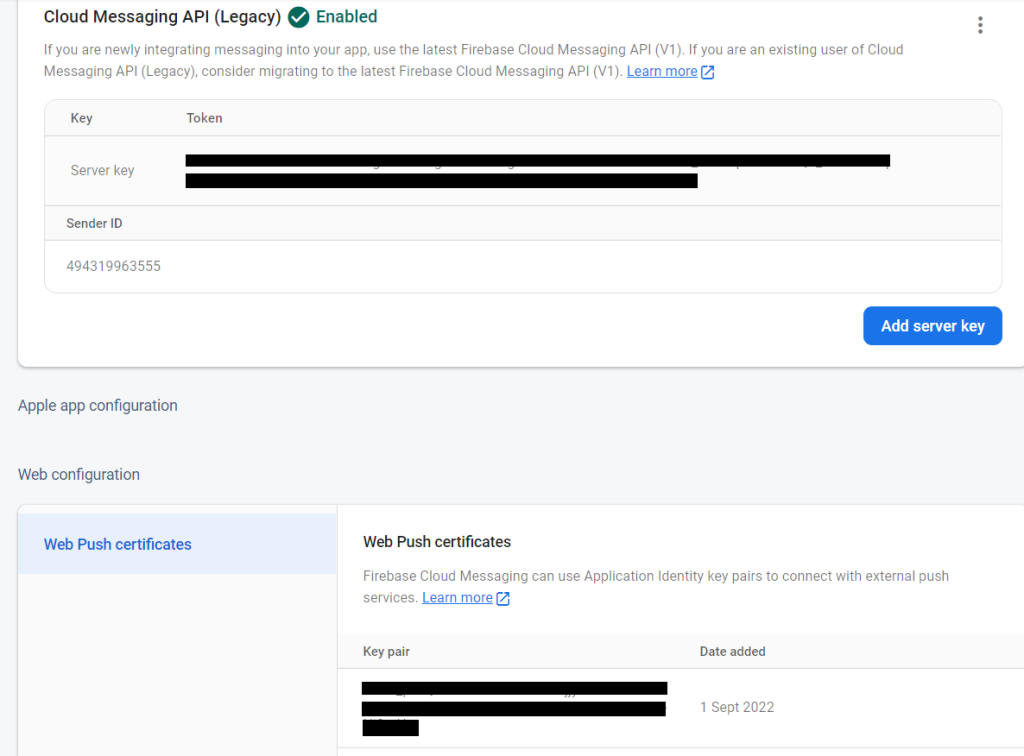
5. Enable Cloud Messaging API (Legacy) from the Cloud Messaging tab. Generate the Key Pair for web push certificates and copy the server key (API key) and the key pair for future reference.
Creating React App with Service workers
1. Firstly, create a react app using “npm create-react-app” command, run the command “npm i firebase” to install firebaseand then in your src folder, create a firebase.js file and paste the firebase configuration you copied earlier. Also, you can look into the reference code in the screenshot below for displaying the push notification.
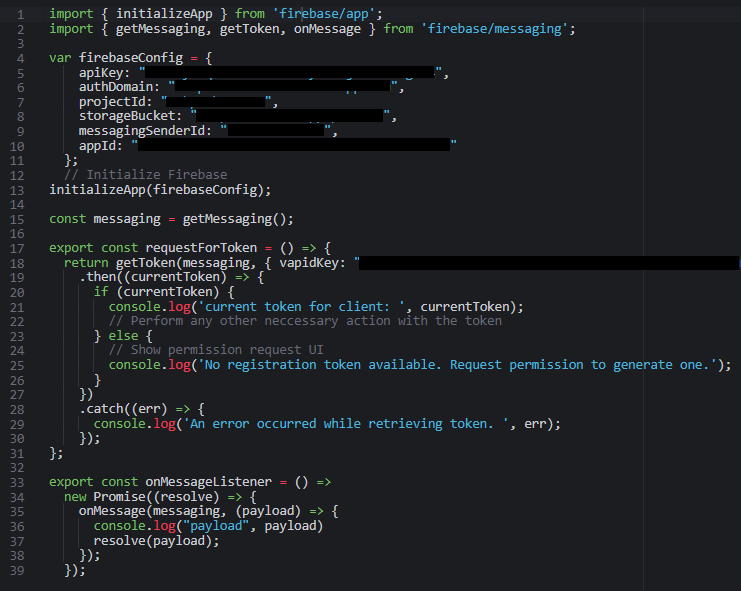
2. As you can see in the screenshot above, there is a “vapidKey” which is your generated firebase key pair that you copied earlier.
3. Now, in your App.js file, import the firebase file, which has requestForToken and onMessageListener functions. Copy the following code and tweak it as per your use case.
import React, {useState, useEffect} from 'react'
import { requestForToken, onMessageListener } from './firebase';
const App = () => {
const [notification, setNotification] = useState({title: '', body: ''});
const notify = () => {
return (
<div>
alert(`${notification?.title} \n ${notification?.body}`
</div>
);
};
function Alert()
useEffect(() => {
if (notification?.title ){
notify()
}
}, [notification])
requestForToken();
onMessageListener()
.then((payload) => {
setNotification({title:payload?.data["pinpoint.notification.title"],
body: payload?.data["pinpoint.notification.body"]});
})
.catch((err) => console.log('failed: ', err));
return (
<div className="App">
<header className="App-header">
<img src={logo} className="App-logo" alt="logo" />
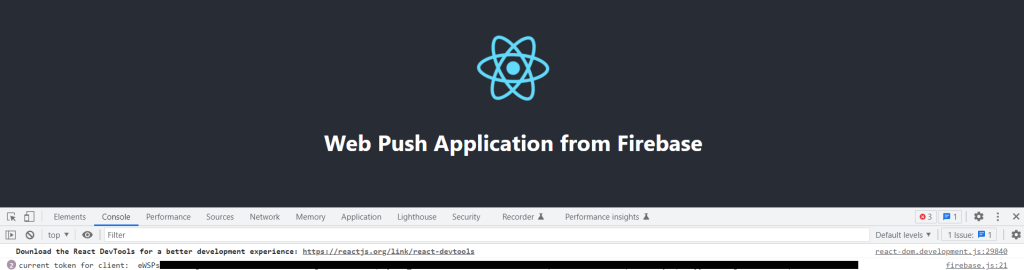
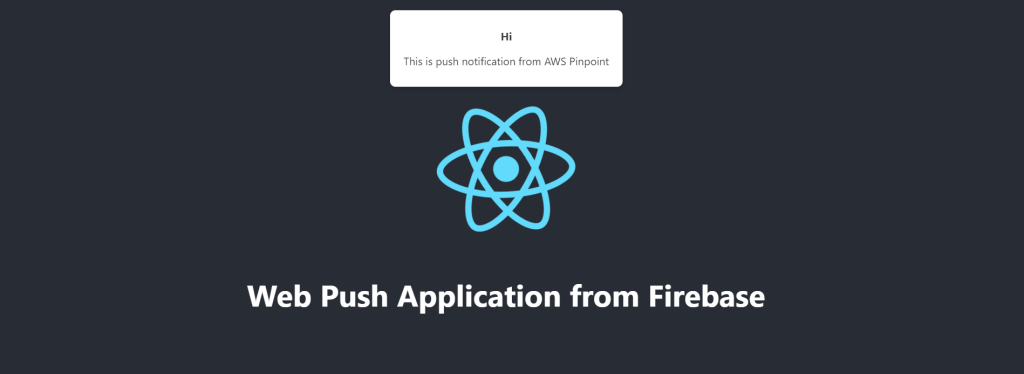
<h1>Web Push Application from Firebase</h1>
</header>
</div>
);
}
export default App;
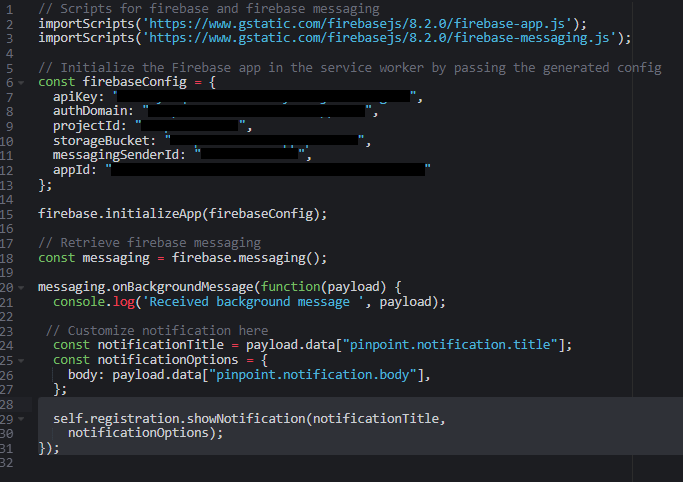
4. Now, create a service-worker.js file in your public folder and paste the firebase configuration that you copied earlier in this folder.
5. Now, you can run your app using the “npm start” command and copy the token received from the console.
Creating Pinpoint Project
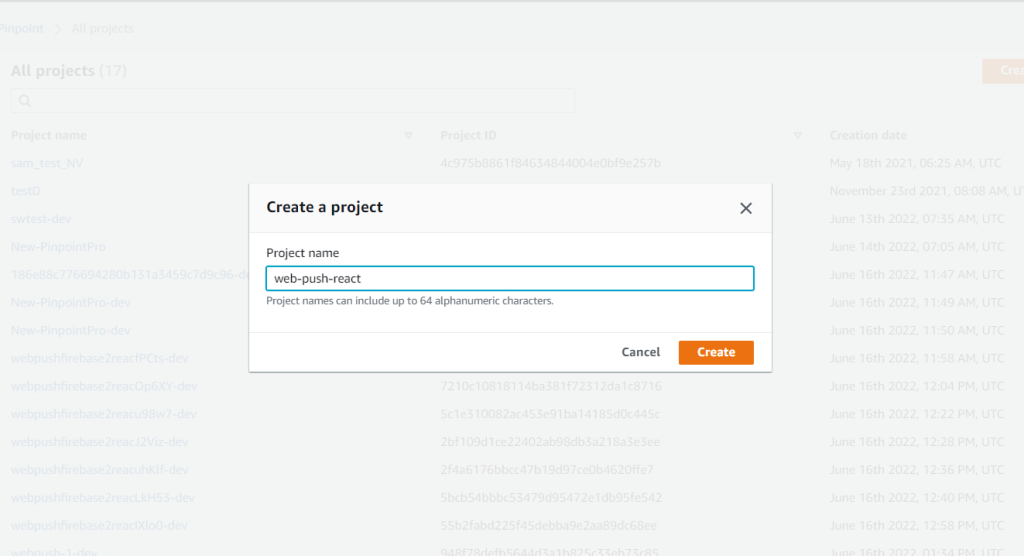
1. Open your AWS Console and search for Amazon Pinpoint. Click on create project and provide a name for your pinpoint project.
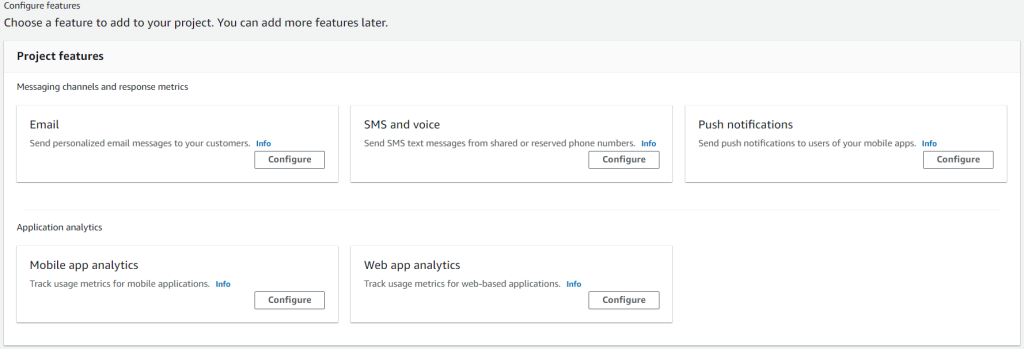
2. Under the project features tab, click configure push notifications.
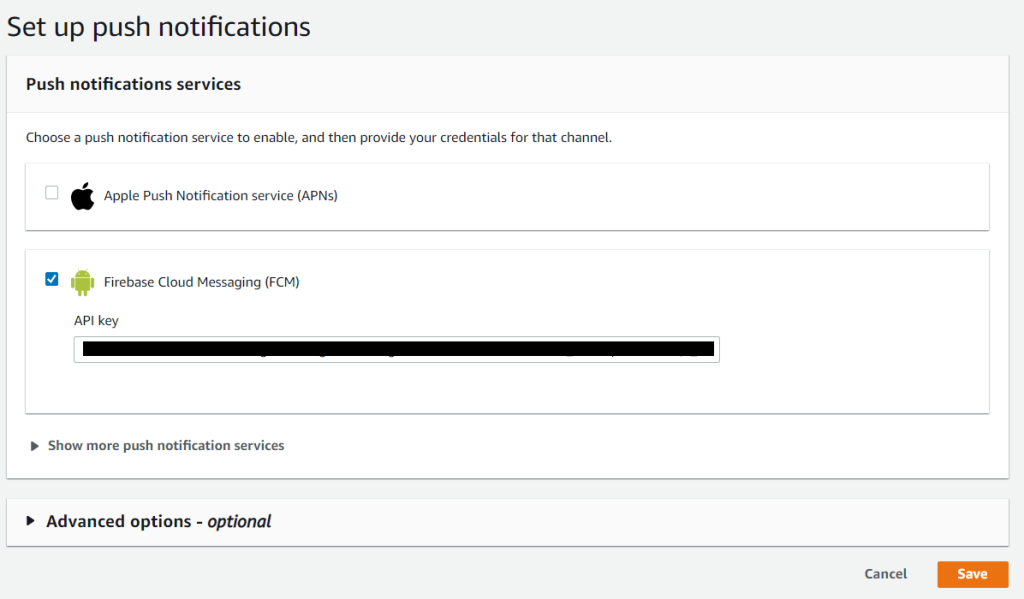
3. Now select Firebase Cloud Messaging(FCM) and provide the API, i.e., Server Key that we copied earlier while setting up the firebase project, and then click on save.
Integration and Testing
1. For integrating Pinpoint with React, we are going to use Amplify. To install, amplify and integrate Pinpoint using amplify, run the following set of commands.
● npm install -g @aws-amplify/cli
● amplify configure ( Provide your aws account credentials)
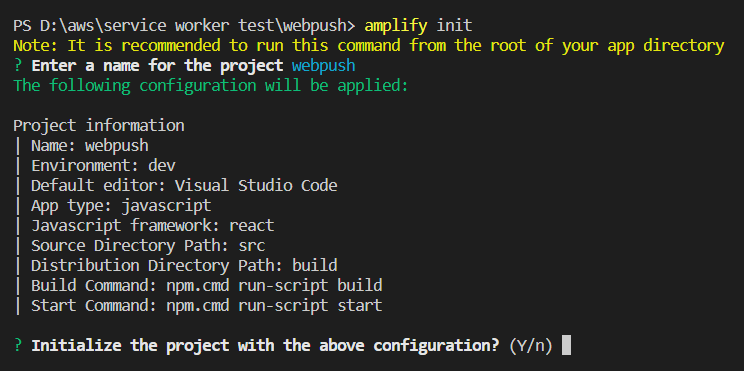
● amplify init (It will ask a set of questions to initialize your project)
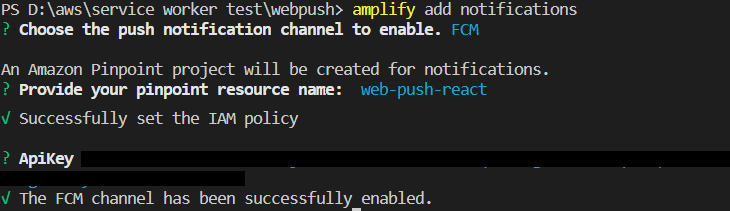
● amplify add notifications (It will prompt you to provide a select channel, pinpoint resource name, and firebase server/API key)
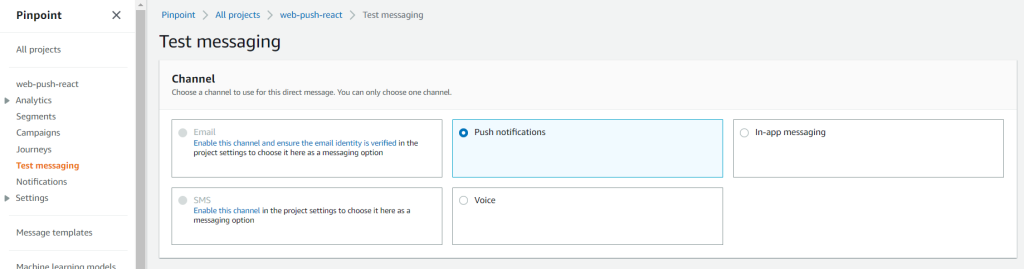
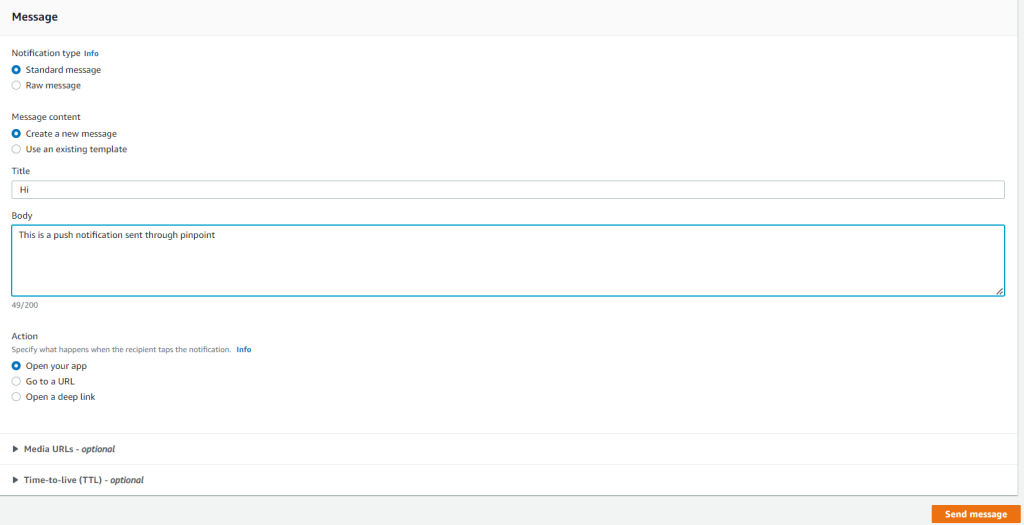
2. Now, we can test sending push notifications from Amazon Pinpoint Dashboard, selecting the project we created in Pinpoint, and under the project, we have Test Messaging on the left-hand side and select channel Push Notification.
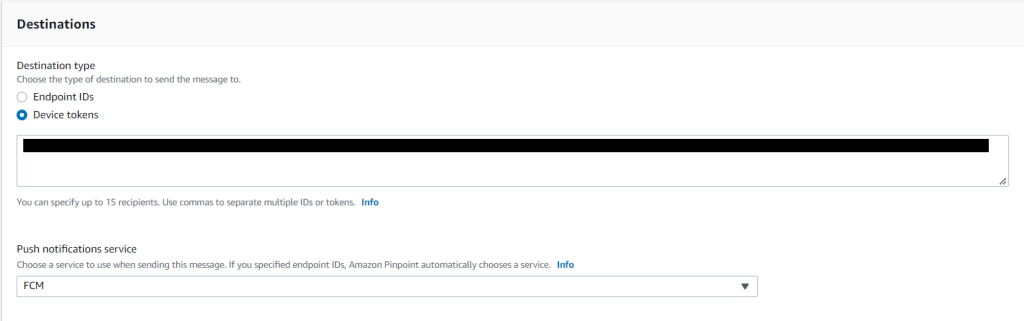
3. In the destination section, select device tokens and provide the earlier copied token from the applications console. Select FCM under push notifications service options.
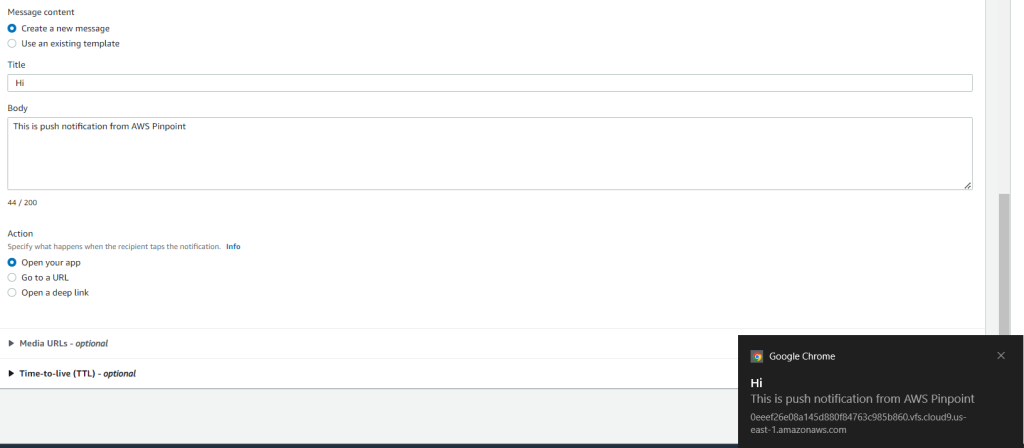
4. In the message section, customize your message and select the action from the provided options.
5. After successfully sending a message, you will be able to see the message on your laptop notifications if you’re not on your application window and pop up on your application screen if you are on your application window. ( Make sure you have allowed notifications to be received on your browser)
6. Hence, your app is now set up to receive push notifications from AWS Pinpoint via Firebase Cloud Messaging.
Written By – Mohammed Shahid Adoni