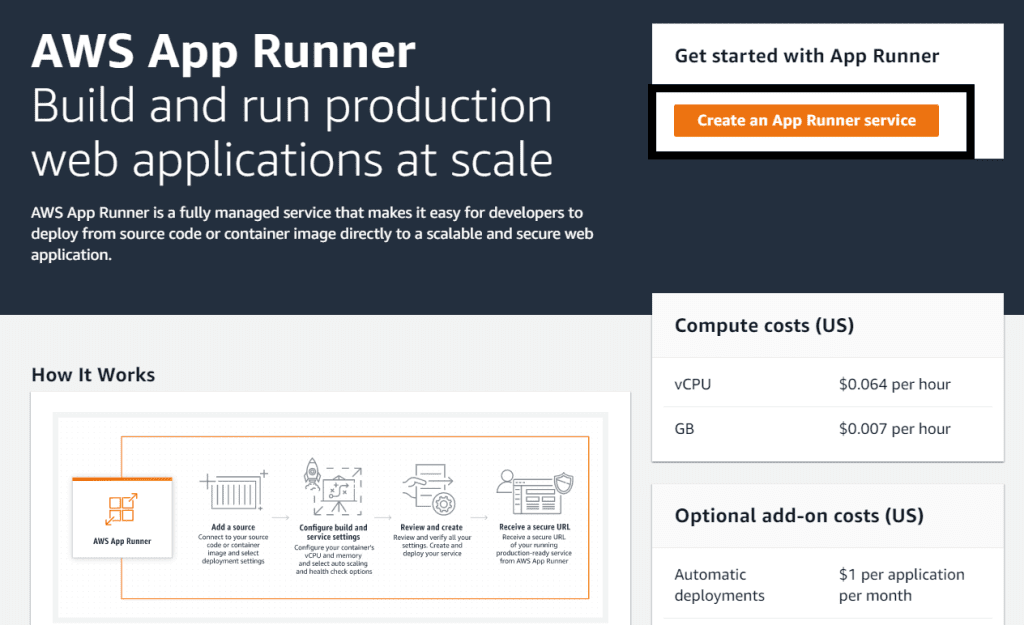
AWS App Runner is a service that provides customers with a fast, secure, and simple way to deploy their applications on AWS without managing the infrastructure. Customers only need to provide the container images or code, and the App runner will build, deploy, and update the app on changes made to the code, load balance, and automatically scale up & down based on demand. It also monitors the health and delivery of encryption.
We use code sitting in the GitHub repo to deploy our application via App Runner.
Prerequisites:
Before continuing, we have some prerequisites to set up. First, fork the repo present here.
Here, we create a DynamoDB table to cache the data fetched from the GitHub API and present in the repo. The following table reduces the number of calls made to GitHub.
The template present in the repo also has an IAM role.
Setup App Runner Service with DynamoDB
1. Go to the AWS console and search for App Runner. If you don’t have any applications running, there will be a ‘Create an App Runner service’ button. Click on it.
2. Next, we connect AWS App Runner to GitHub. Please confirm that you have set up prerequisites before continuing.
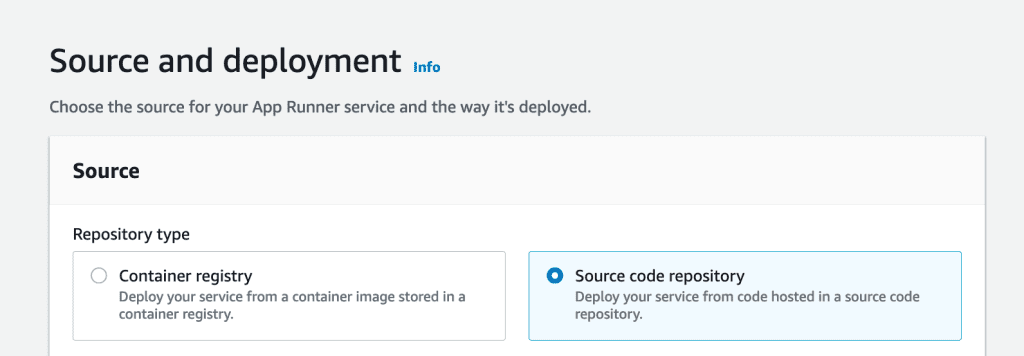
When completing the first step, in the console, you will be prompted to select one of the two deployment options: a container registry-based deployment (‘Container registry’) or a code repository-based (‘Source code repository’). Choose ‘Source code repository.’
3. Next, click Add new’ in the ‘Connect to GitHub.’ A popup window will appear, which will prompt you to input GitHub information or to connect to an existing repository. Install a GitHub app with access to the repository you forked previously with the same username.

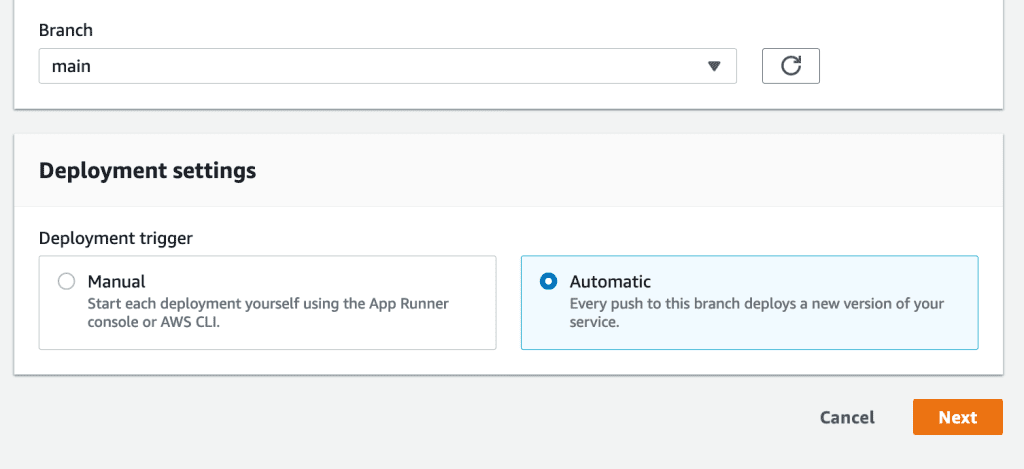
4. Next, we move on to the Deployment settings. Here, we have two options: Manual and Automatic. You start each deployment with Manual using the App Runner console or AWS CLI. With Automatic, every push to your main branch deploys a new version. We chose ‘Automatic.’ Now, click Next.
5. Now, we specify the Build Settings. In this section, you can see the level of control App Runner gives you. Alternatively, later we can provide a configuration file for these settings, which is present in the same repository forked earlier. To configure the settings via the App Runner console, choose ‘Configure all settings here.’
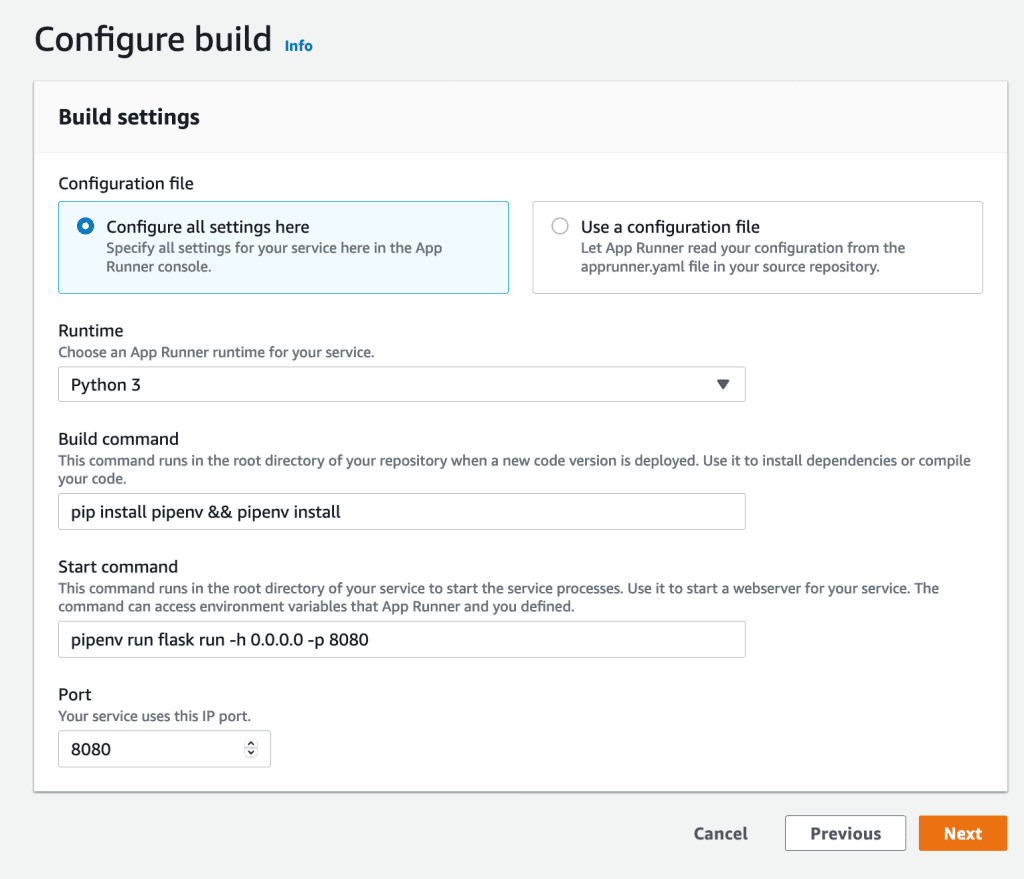
Under the Build command, enter:
pip install pipenv && pipenv install
Under the Start command:
pipenv run flask run -h 0.0.0.0 -p 8080
And, for port:
8080
Click Next.
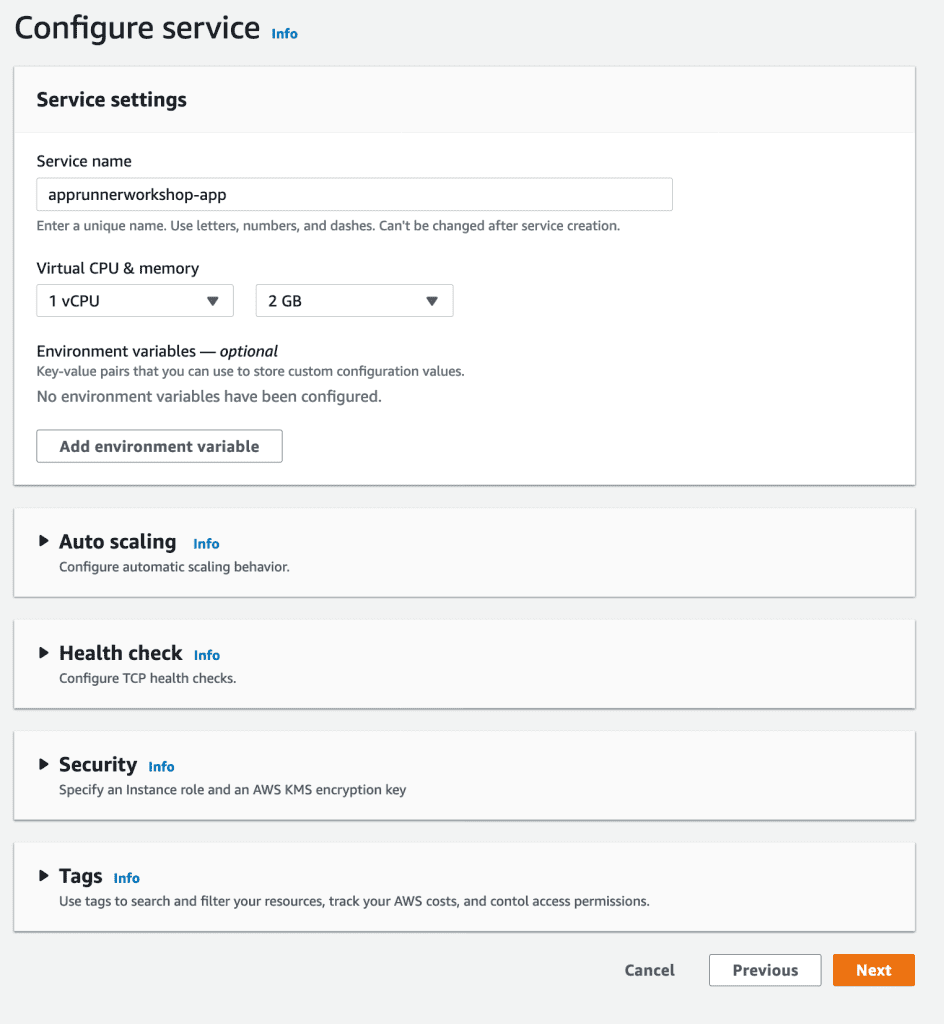
6. Now we Configure service.
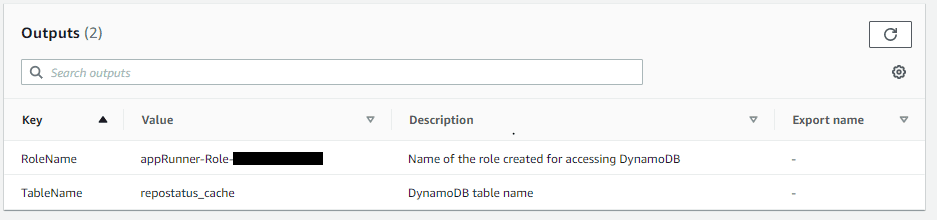
7. In the next security section, give the role name you get from the CloudFormation output launched from the prerequisites.
Click Next. Review and hit the Create & Deploy button.
8. Once the service status reaches completion, then to view the application, hit the ‘Default domain.’
9. Next, if you want to check if the changes made to the application code will be reflected in the application, change the code in the html and commit. You can see the changes in the Activity section once the changes are committed.
10. Once the changes turn from Operation in progress to Running, you can go to
https://[DOMAIN_HERE]/repo/[YOUR_GITHUB_USERNAME]/repostatus-gh-demo in the browser and see the changes.
11. Clean up the environment after testing the environment more.


